Happy Handmade Monday to everyone! Hope you all enjoyed the gorgeous weather we've been having. I was outside and cut the grass for the first time this year, I was really enjoying myself and got on with lots of other jobs too - now I've stopped and sat down I realise I've totally over done it as I'm aching all over!
I thought I'd show you these flowers I made this weekend - I'm really pleased with how they have turned out!
Below is a quick tutorial, so, if you don't want to read all that then I would just remind you to check out the wonderful Wendy's blog at http://http//www.1stuniquegifts.co.uk/blog/ to view what other crafty people have been making!

If you are interested in trying to make these flowers then this is how I did it.
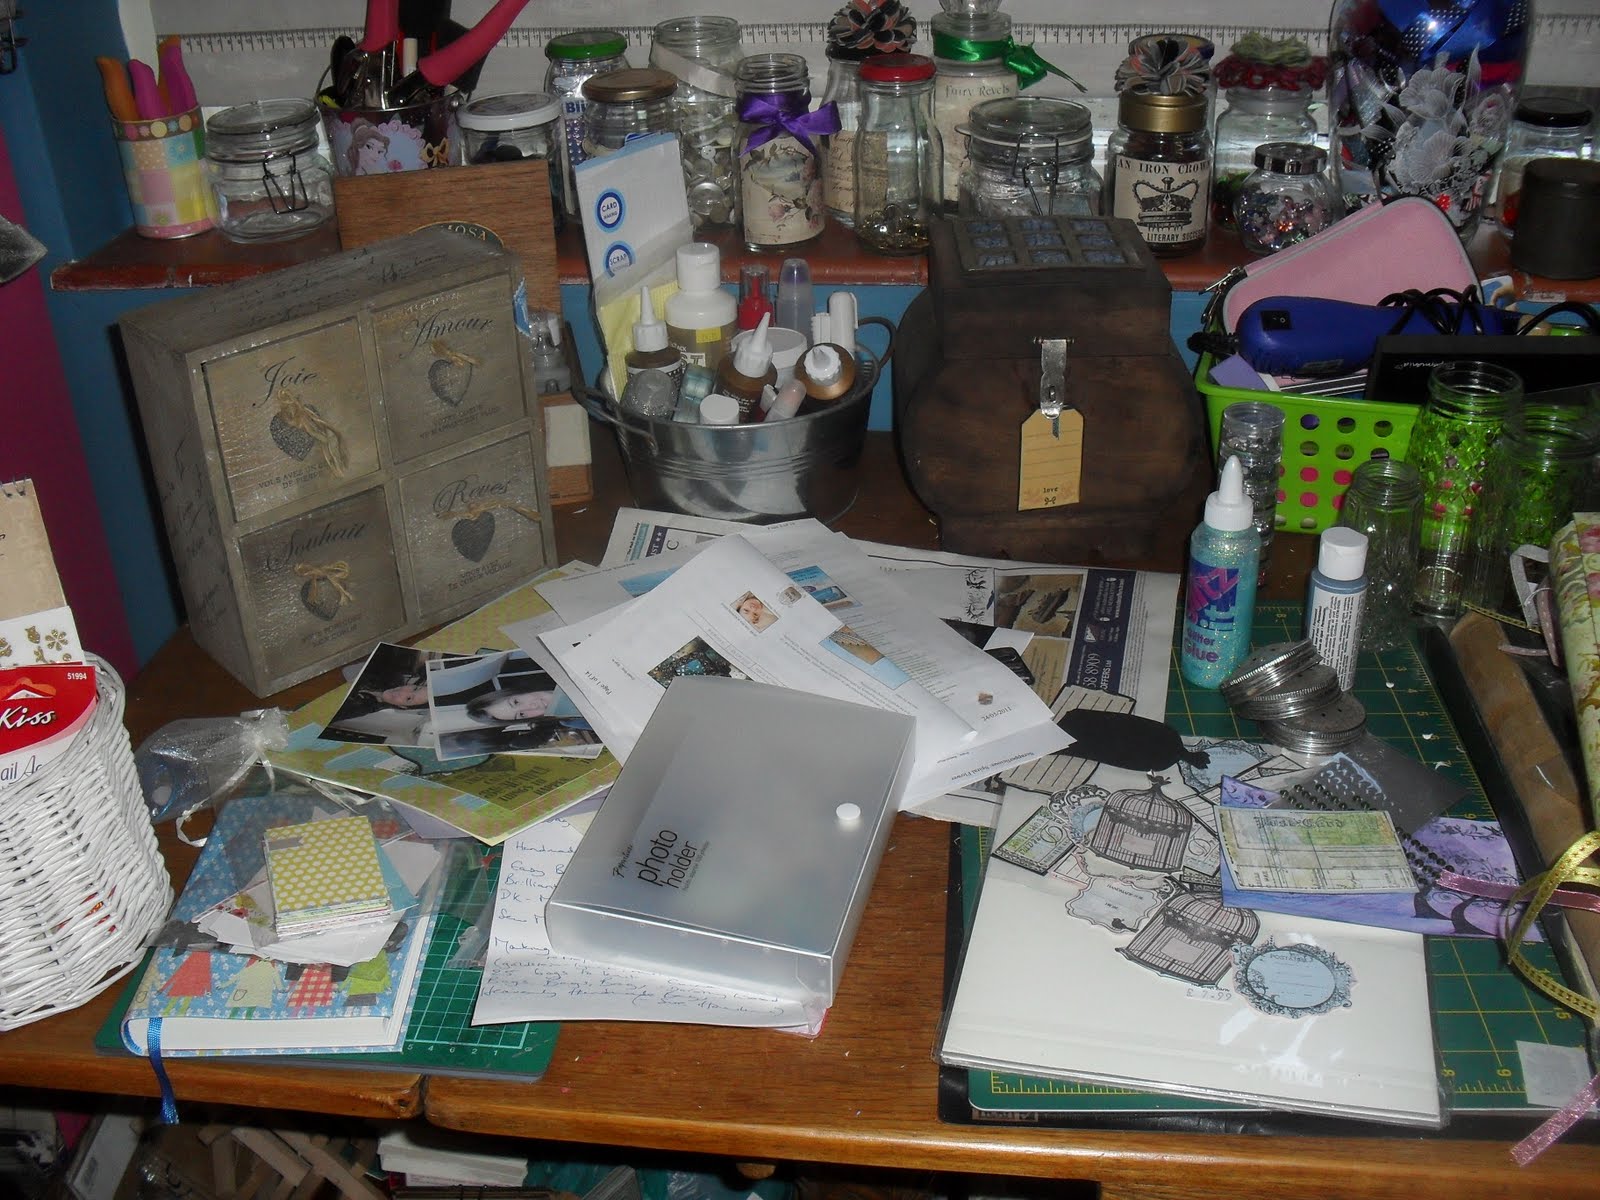
Firstly, gather your supplies,

you will need; copper foil sheet, scrap card stock, 3 different sized flower punches, cuttlebug, embossing folder, heat gun, embossing powder, a small decorative stamp (not your best), a clear embossing pad, glue, scissors, TH adirondack white accrylic dabber, Tim Hotz distress alcohol inks (various colours), TH Dabber, TH blending solution, flat headed tweezers, a selection of small beads, pearls, etc. for flower centre, newspaper and a metal or bamboo skewer.
- Using your different sized flower punches, punch out flowers from the metal sheet and also punch out the same amount from your scrap card. Glue the metal flowers to the scrap paper flowers - this makes the flowers a bit stronger and not so bendy and fragile.

- Leave to dry.
Next, fit as many flowers as possible into your embossing folder and put through the cuttlebug. Do this until all flowers have been embossed.

- Lay the flowers out onto some newspaper and paint some of them with the TH adirondack white accrylic dabber. (If you wish, you can paint them all with the accrylic. I painted just a few as I wanted to try different effects). When the accrylic has dried, (you can use your heat gun to speed things up, but hold the petals with yor flat ended tweezers as you will burn yourself the metal gets VERY hot!! or you could just go and do the washing up or finish making the dinner as I did!)it's time to start using the alcohol inks. I just squirted various inks onto the wooden TH dabber and added a bit of blending solution to it. I then just dabbed away at each flower until they were covered. I played around with the inks trying to get a different colour each time. When you first apply the ink direct to the foil petals without the accrylic ink on them it will look as though the ink doesn't want to settle but it does and will dry well.

- Allow to dry and repeat with another coat of alcohol inks.
- Leave to dry again. (You can use your heat gun to speed things up but remember the metal will get VERY hot so use your flat ended tweezers to hold the petals, you don't want to burn your fingers!!!!)
- Using an old decorative stamp (I suggest an old one as you are going to be using embossing stamp pads which can get your stamps very sticky if you don't give them a good clean afterwards!) stamp each petal with the clear embossing pad and immediatley sprinkle embossing powder over the petal. Tap to remove excess powder and again using the tweezers heat each petal until the embossed effect takes shape. (You can use any colour of embossing powder I used a denim blue and a red one, only because they were the first two I picked up).

- Next, you need to layer up the petals to make each flower - I made some flowers out of 3 different sized petals and some out of just 2. As each petal is backed onto scrap petal gluing them into position is nice an easy. Leave to dry - it onlty takes about 5 - 10 minutes.
- Depending on the flower punch you used, you will need to snip into the centre of the flower so that you can then bend the petals into the shape you want.
- Finally, glue your little beads, pearls or other embellishments to the centre of the petal. Make sure you use clear drying glue.

To make the stalks I cut small strips of the copper metal sheet and using the bamboo skewer I rolled it as tightly as I could. When you pull the skewer out you can then bend it into any stalk shape you want. You can also use the alcohol inks to dye the stalks as you did for the petals. WORD OF WARNING : Throughout this whole flower making process I did not cut myself on the metal foil UNTIL making the stalk where after pulling the bamboo skewer out and shaping it I managed to give myself a metal foil PAPER CUT!!!!! and it b****y hurts, so be careful!!!